Have you ever watched a child trace their finger along a map and ask, “Why are there so many different kinds of maps?” That question opens the door to a fascinating world – where the same place can be shown in eight different ways, each telling a different story.
Today, we’re exploring types of maps – climate maps, physical maps, resource maps, road maps, time zone maps, topographic maps, weather maps, and political maps. I’ll share simple hands‑on activities for ages 6–9 and 9–12, plus a printable resource that turns map study into a self‑directed Montessori work. And of course, we’ll see how this connects to the Imaginary Island project.
Why Learn About Different Map Types?
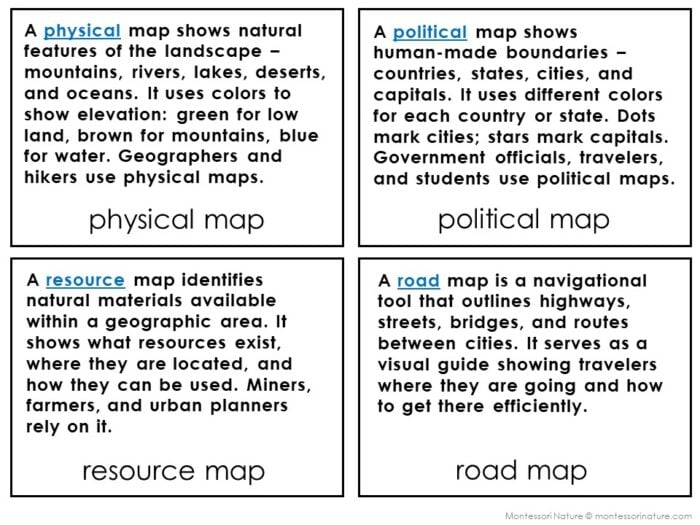
Most children know that a map shows where things are. But not all maps show the same things. A road map helps you drive across a country. A climate map tells you if you need a raincoat or a parka. A topographic map shows the ups and downs of the land. A political map shows borders and cities.
When children learn to read different map types, they learn to ask better questions: What resources does this region have? Why are there time zones? How do mountains affect the weather?
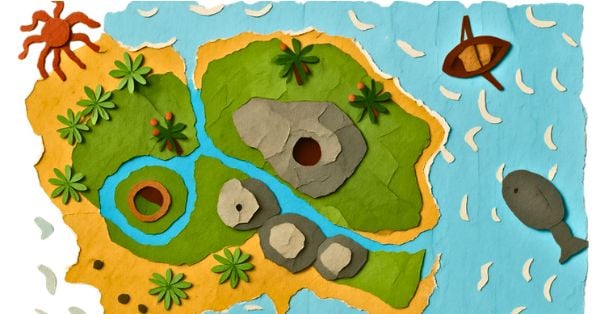
And when they build their Imaginary Island, they first draw a map on paper – deciding where mountains, rivers, and valleys go. Only after the map is complete do they build the island with salt dough, following their own plan. Understanding map types helps them design a richer, more thoughtful island from the very first pencil stroke.
Hands‑On Activities for Ages 6–9
Activity 1: Map Match – Which Map Is Which?
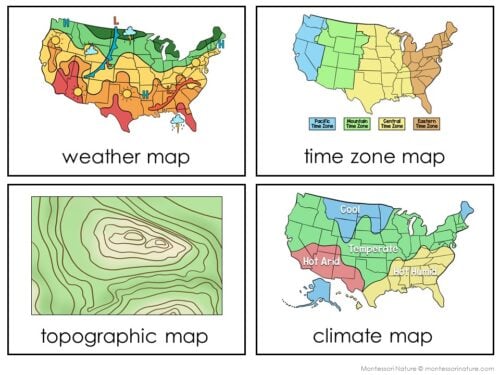
What you need: Printed images of different map types (or the picture cards from the printable), labels with map names.
What to do: Lay out the map pictures. Shuffle the labels. The child reads each label and places it next to the matching map. For self‑correction, use the control cards (picture + label).
What they learn: Each map type has a unique purpose and appearance.
Activity 2: Draw a Simple Map of Your Classroom or Playground
What you need: Paper, pencil, crayons.
What to do: Ask the child to draw a simple map of your classroom (desks, rug, door, shelves) or your playground (slide, swings, sandbox, trees). Then ask: Could this map help someone find the swings? (Yes – it shows where things are located). Could it show how high the slide is? (No – that would be a different kind of map, like a physical or topographic map.)
What they learn: Different maps answer different questions. A classroom map shows the location. A topographic map shows height. A resource map shows what is available.
Activity 3: Weather Map in a Minute
What you need: A printed outline map of your country or a simple blank map, blue and red crayons.
What to do: Listen to the weather forecast. Draw blue lines for cold fronts, red lines for warm fronts. Add a sun for sunny areas, clouds for rainy areas. That is a weather map.
What they learn: Weather maps show moving air masses and precipitation.
Hands‑On Activities for Ages 9–12
Activity 4: Topographic Map from Salt Dough (Following Their Drawn Map)
What you need: A simple drawn map of a mountain or hill, salt dough or clay, a piece of cardboard.
What to do: The child first draws a topographic map on paper, showing contour lines for a hill or mountain. Then they use salt dough to build the landform according to their own map – each contour line becomes a layer of dough. This reverses the usual process: map first, then model.
What they learn: A topographic map is a plan for building. Cartographers design maps before the land is shaped.
Activity 5: Time Zone Detective
What you need: A world map showing time zones.
What to do: Find your local time. Then find a city in a different time zone (e.g., London, Tokyo, New York). Calculate what time it is there. Then ask: Why do we need time zones? (Because Earth rotates 15° per hour – when it is noon here, it is midnight on the opposite side.)
What they learn: Time zone maps help us understand that the sun does not rise everywhere at the same moment.
Activity 6: Resource Map of Your Country
What you need: A printed outline map of your country (or a simple sketch), colored pencils.
What to do: On the map, the child adds symbols for natural resources found in their country: a tree for forests, a pickaxe for minerals, a drop of water for rivers or lakes, a fish for fishing grounds, a sun for sunny farmland, an oil derrick for oil fields. They can research online or use an atlas to find where these resources are located.
What they learn: Resource maps show what people can use from the land – where food grows, where minerals are mined, where water is plentiful. Every country has its own unique resource story.
How the Printable Resource Brings It All Together
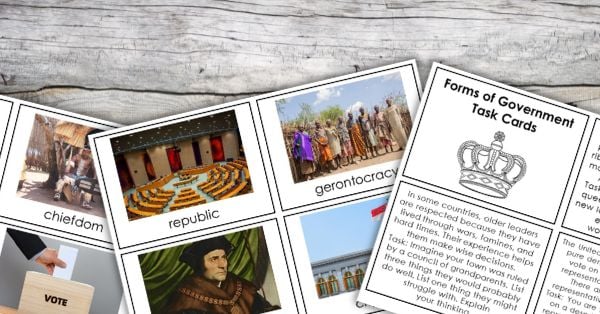
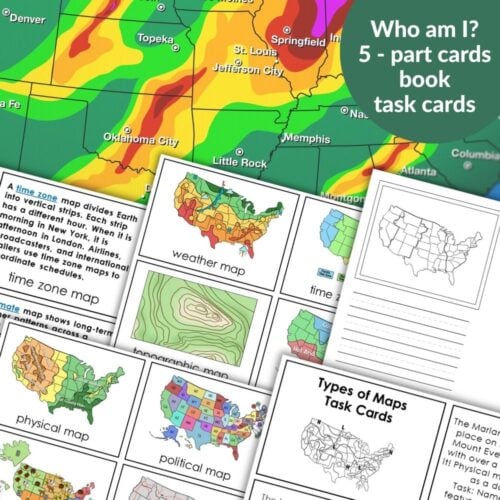
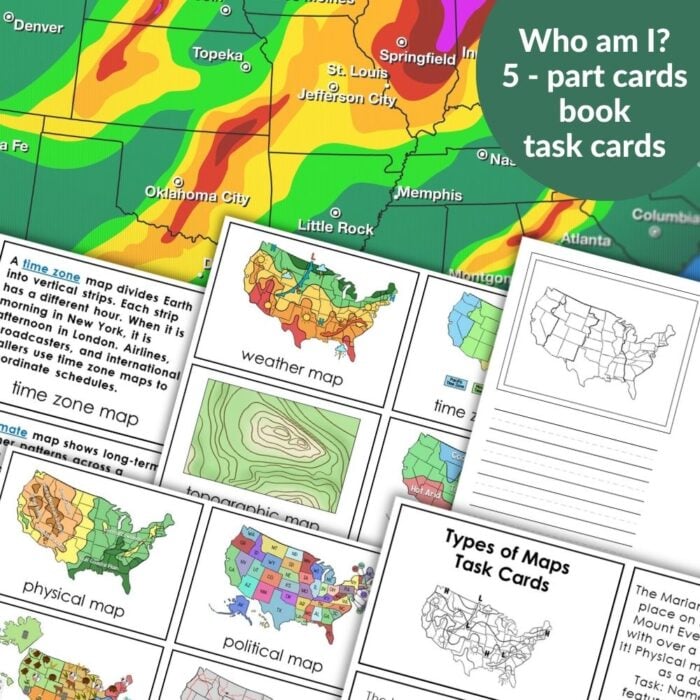
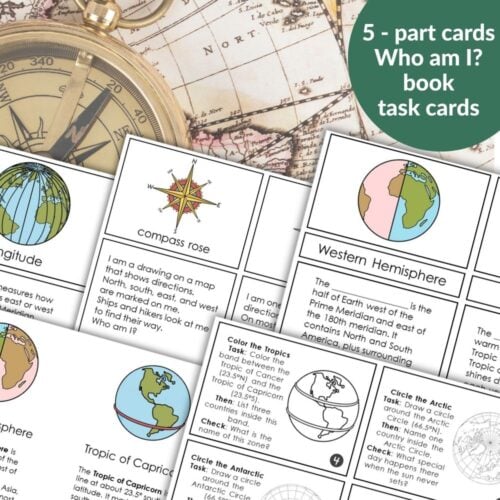
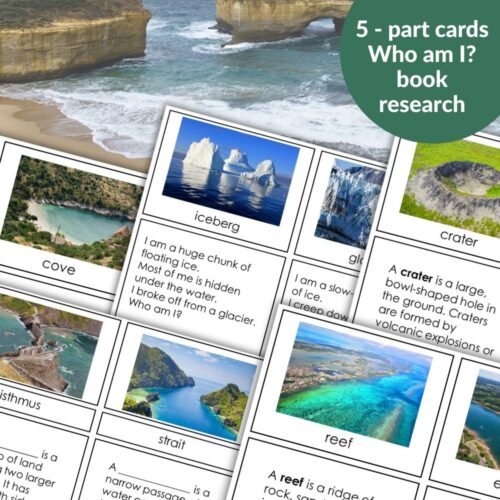
Teaching eight map types could be overwhelming. That is why I created a set of 5‑part cards, task cards, an easy‑to‑assemble book, and “Who Am I?” riddles for each map type.
What’s inside:
8 map types: climate map, physical map, resource map, road map, time zone map, topographic map, weather map, political map
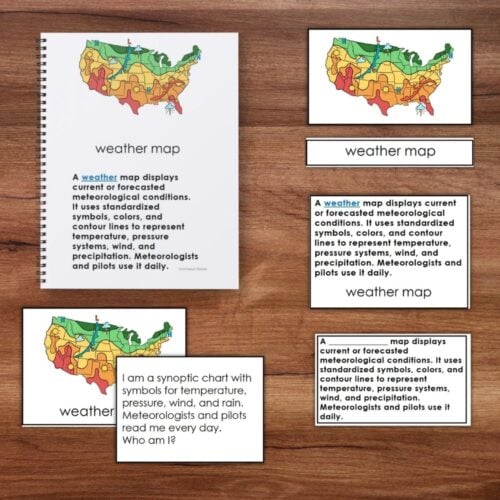
For each map type: picture card, label card, control card (picture+label), definition card, cloze card
“Who Am I?” riddles – fun, self‑checking review
Task cards – 16 hands‑on activities that apply map skills
Book – print, fold, staple – no cutting or complex binding
How to use it with different ages:
Ages 6–9: Use picture and label matching. Read the book aloud. Play the riddle game as a class. Do simple task cards (e.g., “Draw a map of your desk”).
Ages 9–12: Work independently with the 5‑part cards and cloze cards. Use the riddles for review. Complete task cards that apply to their Imaginary Island.
How it connects to the Imaginary Island project (map first, then dough):
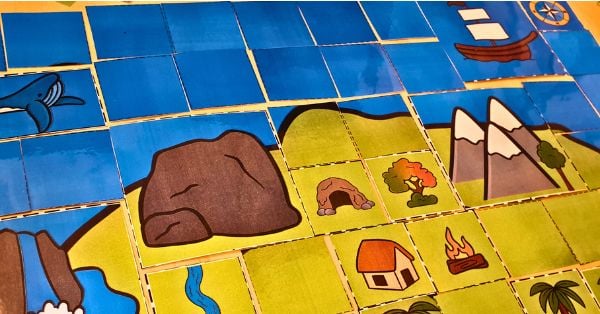
The child draws a topographic map of their Imaginary Island on paper (using contour lines from the Inland and Coastal Features printable).
They then build the island with salt dough, following their drawn map.
Using the Types of Maps cards, they create additional maps of the same island – a climate map (based on its latitude), a resource map (showing forests, minerals, water), a road map (connecting villages), and a political map (adding borders and place names).
Each map is drawn on paper – the salt dough model remains the same, but the paper maps show different stories.
Suddenly, one island becomes many maps – and children learn that maps are not just pictures, but tools for thinking and planning.
Maps are not just for finding your way. They are for planning, designing, and seeing the world from different angles. With a few hands‑on activities and a clear set of picture cards, your students will learn to read – and create – climate maps, topographic maps, resource maps, and more.


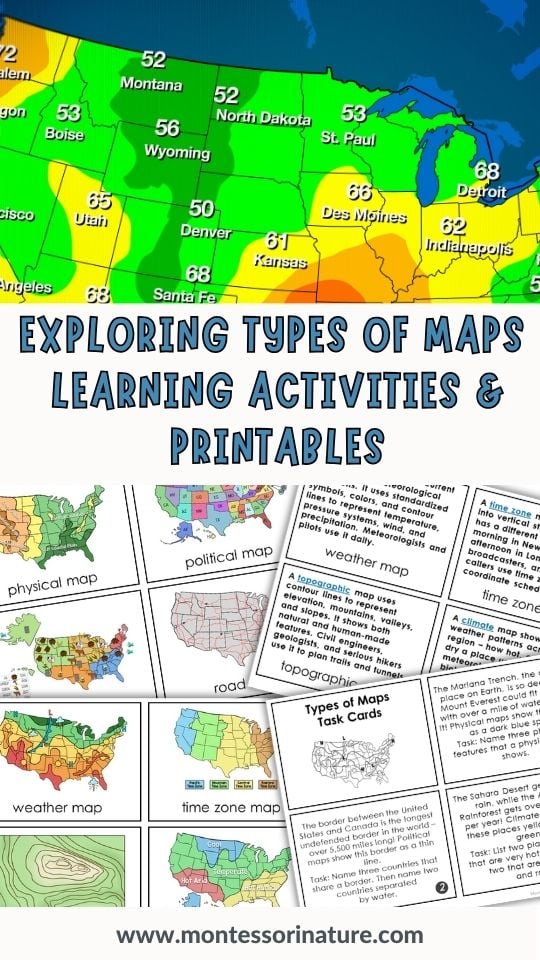
Types of Maps
Help your students explore 8 types of maps – climate map, physical map, resource map, road map, time zone map, topographic map, weather map, and political map – with this Montessori-inspired printable. Perfect for the Imaginary Island project, these 5‑part cards, easy‑to‑assemble book, and “Who Am I?” riddles turn map study into a hands‑on, cross‑curricular experience.
This printable is also available on TPT
You Might Also Enjoy


About Anastasia | Anastasia is a certified early childhood teacher with over twenty years of experience in Montessori classrooms and homeschooling. As the founder of Montessori Nature, she creates evidence-based, nature-inspired educational printables. Discover more resources on her blog and Teachers Pay Teachers store.