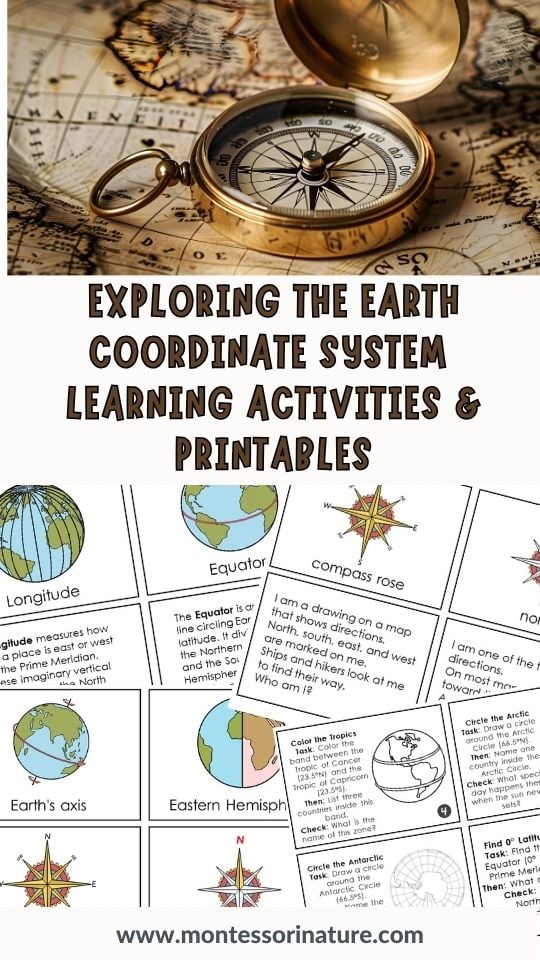
If you have ever tried to explain latitude and longitude to 6-9‑year‑olds, you know that “imaginary lines around the Earth” can sound pretty abstract. But with the right approach – and a few giggles – young children can absolutely grasp these big ideas.
Here’s how to make the geographic coordinate system interesting and understandable for your youngest mapmakers.
Start with Their Own Body
Before touching a globe, use the child’s own body.
Latitude is like a belt. Run a piece of yarn around your waist – that’s like the Equator. Lines above go north, below go south.
Longitude is like a long zipper. Run a string from your neck down to your feet – that’s like the Prime Meridian.
Now, where the belt and the zipper cross? That’s your unique spot. Every place on Earth has one.
Why this works: Young children think concretely. Their own body makes an abstract grid real.
Play “Where’s the Treasure?”
Draw a simple grid on paper – 3 squares across, 3 squares down. Label the bottom row A, B, C and the side row 1, 2, 3 (like Battleship). Hide a sticker in one square. Say: “The treasure is at B2.” The child finds it.
Then explain: Latitude is like the numbers (north‑south). Longitude is like the letters (east‑west). Maps use the same idea – just with degrees instead of numbers.
What children learn: A grid gives every square an address. Latitude and longitude are just a giant grid wrapped around Earth.
Use the “Pizza Slice” Globe
Cut an orange or an apple into wedges. Each wedge is like a slice of longitude. The Earth has 24 slices (one for each hour). The line where you start cutting is the Prime Meridian.
Then draw a line around the middle of the whole fruit – that’s the Equator. Show how the fruit has a top half (Northern Hemisphere) and a bottom half (Southern Hemisphere).
What children learn: Hemispheres are just halves. Longitude slices help us tell time.
A Hands‑On Activity: The Flashlight Sun
In a dark room, shine a flashlight (the Sun) on a ball (Earth). Shine directly on the middle – bright and hot. That’s the Tropic Zone. Shine at the top – dim and spread out. That’s the Polar Zone.
Then ask: “Where would you want to live? Near the bright stripe or near the dim spot?”
What children learn: Where you live on Earth (latitude) decides how hot or cold it feels.
How to Use the Printable with 6–9 Year Olds
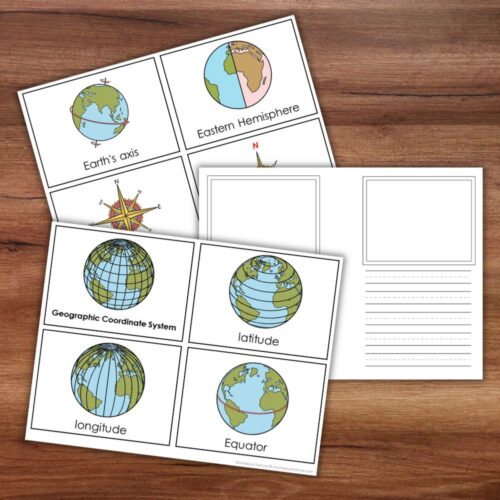
My Geographic Coordinate System printable includes simple picture cards, short definitions, and easy task cards. For young children:
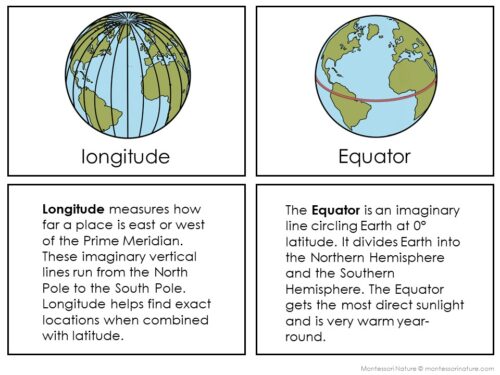
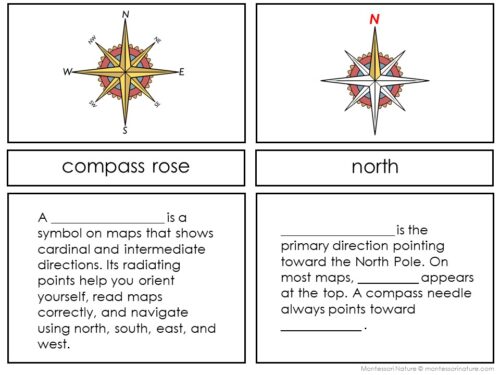
Pick only 6–8 terms. Start with: Equator, North Pole, South Pole, Northern Hemisphere, Southern Hemisphere, Compass Rose, North, South.
Match pictures to definitions with your help. Read the definition aloud.
Bind the matched cards into a little book with a metal ring. Children love having their own reference.
Use simple task cards like: “Find the Equator on the globe. Touch it with your finger.” “Point north. Now point south.”
For the Imaginary Island: Ask the child to add a compass rose (just N, S, E, W) to their salt‑dough map and decide if their island is in the Northern or Southern Hemisphere.
What to Expect
A 6‑year‑old will not memorize all 29 terms. That is fine. Celebrate when they can:
Point to the Equator on a globe
Say “northern” vs. “southern.”
Draw a simple compass rose with N, S, E, W
Tell you that the poles are cold because sunlight hits at an angle
By age 9, many children will happily learn the Tropics, Arctic Circle, and the eight compass directions – especially if they are building an Imaginary Island of their own.
Make It a Game, Not a Lesson
The secret to teaching 6–9-year-olds is to make everything feel like play.
Card matching = a puzzle
Finding the Equator = a treasure hunt
Labeling a compass rose = drawing a secret symbol
Keep a globe or map nearby. Every time you look at it, ask: “Can you find the Equator today?” Soon, they will race to show you.
Ready to Get Started?
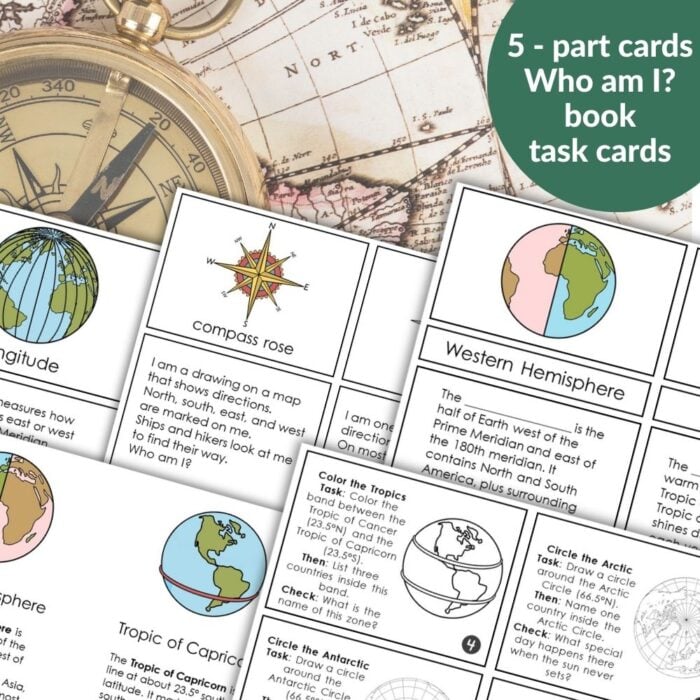
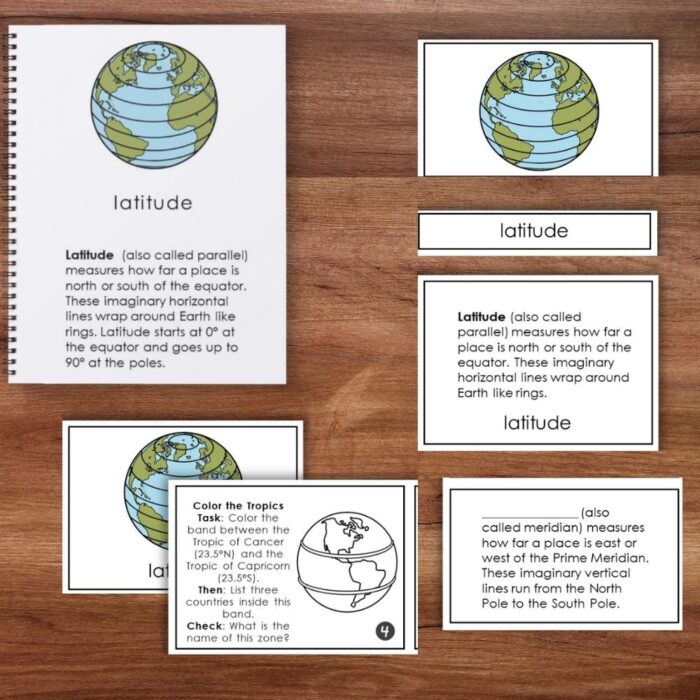
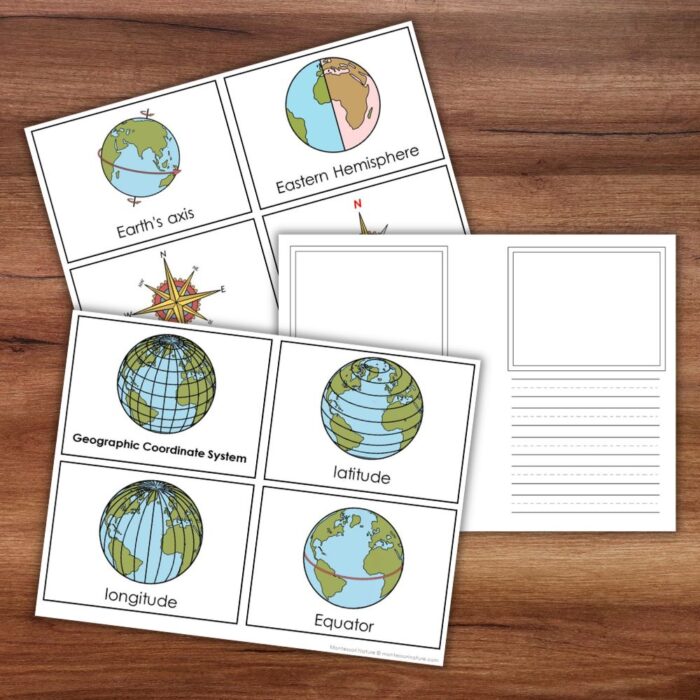
My Geographic Coordinate System – Latitude and Longitude printable includes picture cards, definition cards, cloze cards, and 24 task cards – but for 6–9 year olds, just use the first 8–10 terms and the simplest task cards.
Young children do not need complex explanations. They need a belt, a zipper, a flashlight, and a few giggles. With those, they will understand that every place on Earth – even a tiny imaginary island – has a special address.
Applying This Knowledge to the Imaginary Island Project
For ages 6–9: After building their salt‑dough island, young children can use the picture cards to add a simple compass rose with N, S, E, and W to their map. They can decide whether their island lies north or south of the Equator (Northern or Southern Hemisphere) and color the appropriate climate zone on their island map. They can place a yarn piece along the Equator on a real globe, then point to where their imaginary island would sit – giving it a believable, exciting location.
For ages 9–12: Older children can determine precise latitude and longitude coordinates for features on their Imaginary Island – for example, “The island is at 15°N, 42°W.” Using the definition and cloze cards, they can label their map with the Tropic of Cancer, Arctic Circle, and major climate zones, then explain why their island experiences four seasons or year‑round heat.

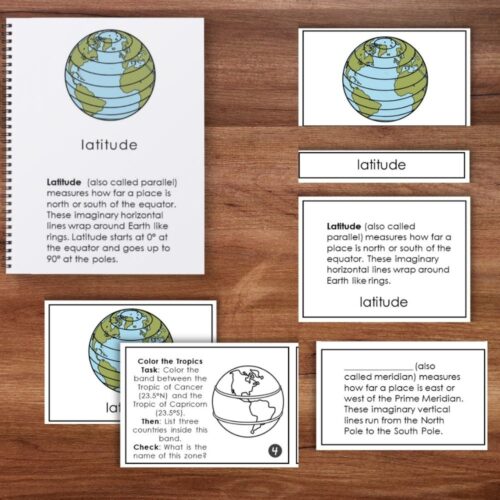
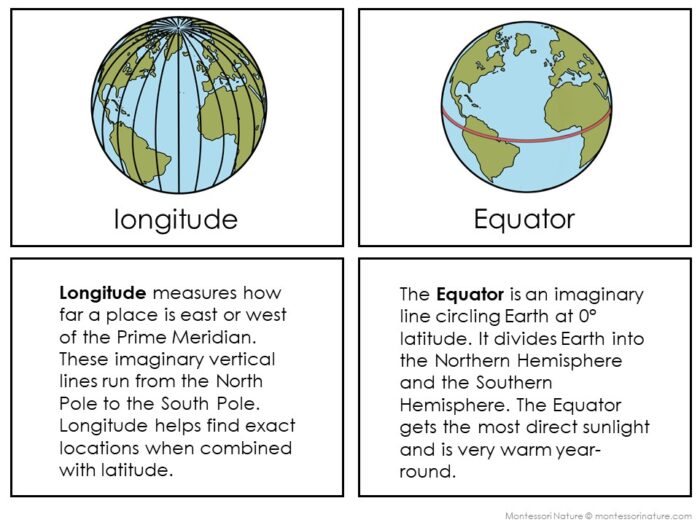

Latitude and Longitude: Geographic Coordinate System
Help your students master latitude and longitude, the Equator, Prime Meridian, hemispheres, poles, Tropics, Arctic and Antarctic Circles, compass rose, and the Axis of Earth with this Montessori-inspired resource. It contains 5-part cards and a corresponding book. Perfect for the Imaginary Island project, this resource gives children the tools to place their island accurately on a global grid and understand its climate.
This printable is also available on TPT

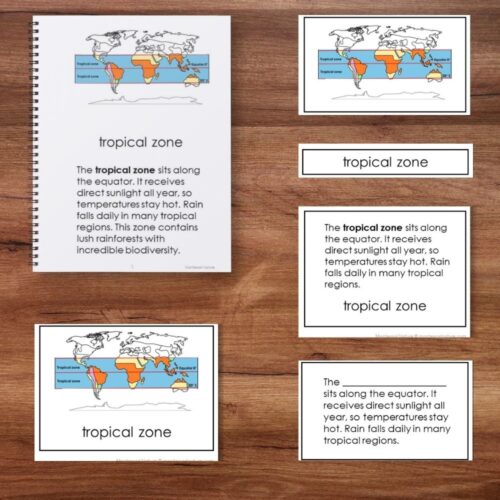
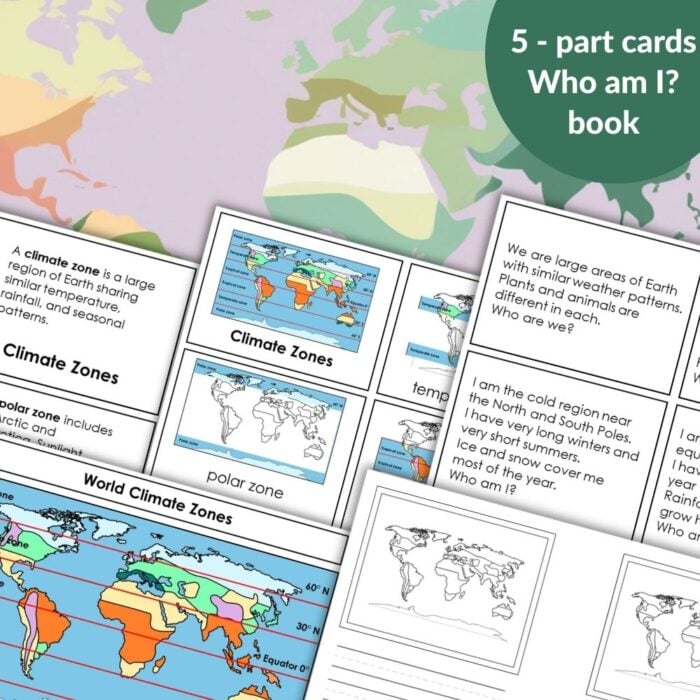
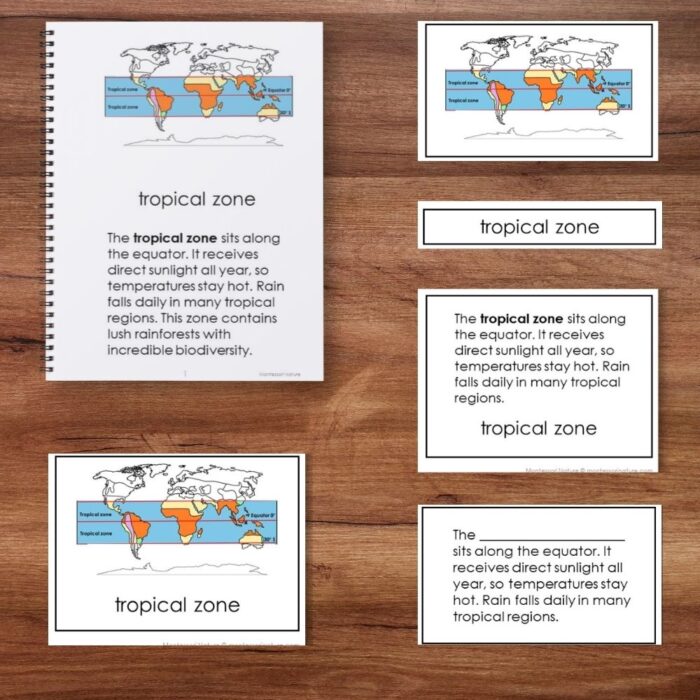
Climate Zones
Introduce Earth’s three main climate zones – Polar, Temperate, and Tropical. This Montessori-inspired set helps children understand how latitude affects temperature and weather. Perfect for the Imaginary Island project – children can decide which climate zone their island belongs to.
This printable is also available on TPT
You Might Also Enjoy

About Anastasia | Anastasia is a certified early childhood teacher with over twenty years of experience in Montessori classrooms and homeschooling. As the founder of Montessori Nature, she creates evidence-based, nature-inspired educational printables. Discover more resources on her blog and Teachers Pay Teachers store.