Nativity crafts are a wonderful way to engage students in a hands-on activity that reminds them of the significance of the holiday. By creating their own nativity scene or ornaments, students can explore the biblical story, reflect on the birth of Jesus, and foster a deeper appreciation for the Christmas season. These crafts not only encourage creativity and fine motor skills but also provide an opportunity for meaningful discussions about faith and spirituality. Whether it’s creating a manger scene, crafting ornaments depicting the Holy Family, or making angel puppets, can serve as valuable tools for imparting the message of love, hope, and faith that lies at the heart of Christmas.

There are many ways educators and parents can bring the nativity to life for young learners.
Nativity Hands-on Activities for Children
Build a Nativity Scene: Provide students with miniature figures of Mary, Joseph, baby Jesus, the shepherds, the angels, and the animals. Encourage students to recreate the Nativity scene using sand or clay, emphasizing the importance of each figure’s placement and role in the scene.
Matching Activity: Gather picture cards with images of different aspects of the Nativity story such as the stable, the star, the wise men, etc. Cut out these cards and laminate them. Provide matching cards with the corresponding words. Let the students match the pictures with the words, increasing their vocabulary and knowledge of the story.
Sensory Bin: Fill a large container with materials related to the Nativity story, such as hay, miniature animals, feathers (for angel wings), and star-shaped objects. Allow students to explore the bin, encouraging discussions about the elements of the story and their significance.
Nativity Story Sequencing: Print out pictures or draw illustrations representing key moments in the Nativity story, such as the Annunciation, the journey to Bethlehem, the birth of Jesus, and the visit of the shepherds and wise men. Cut out these pictures and have the students arrange them in the correct chronological order, retelling the story as they go.
Patterning with Nativity Figures: Provide students with small Nativity figures and various manipulatives such as colored beads, buttons, or gems. Encourage them to create patterns using the figures and the manipulatives, reinforcing mathematical concepts while incorporating the Nativity theme.
Dramatic Play: Set up a dramatic play center where students can act out the Nativity story using costumes, props, and puppets. This allows them to engage in imaginative play, bringing the story to life and enhancing their understanding and empathy for the characters.
Art: Provide students with materials such as construction paper, scissors, glue, and markers. Encourage them to create their own Nativity scene by cutting out shapes and figures or drawing and coloring them. Display their artwork around the classroom to further immerse them in the Nativity theme.
Music and Movement: Teach students traditional Nativity songs and dances, such as “Away in a Manger” or “We Three Kings.” Encourage them to sing and perform the accompanying movements. This activity fosters creativity, coordination, and appreciation for the music and story.
Collaborative Storytelling: Divide the students into small groups and assign each group a specific part of the Nativity story. Provide them with materials, such as props or costumes, to help them retell their part of the story. Have each group present their segment to the class, collectively reenacting the entire Nativity story.
Candle Making: In preparation for Christmas, have students make their own candles. Discuss the symbolism of light and how candles are often used to represent Jesus as the light of the world. Allow students to decorate their candles with Nativity-themed designs, such as stars or angels. This activity combines sensory engagement, and fine motor skills, and serves as a reminder of the true meaning of Christmas.
Here’s a step-by-step guide on how to do it:
Materials needed:
- Beeswax sheets
- Candle wicks
- Scissors
- Popsicle sticks or craft sticks
- Decorative materials such as glitter, stickers, markers, etc.
- Heat source (like a hairdryer or heat gun)
- Glue or double-sided tape (optional)
Instructions:
- Begin by explaining the process and safety precautions to the children. Remind them to be careful with the hot wax and heat source, and to listen to your instructions.
- Give each child a sheet of beeswax. Beeswax sheets are easy to work with and don’t require melting.
- Ask the children to choose a color for their candle and let them cut the beeswax sheet to the desired length using scissors.
- Place a candle wick at one end of the beeswax sheet. Leave around 1 inch (~2.5 cm) of wick hanging beyond the edge of the wax sheet.
- Ask the children to roll the beeswax tightly around the wick. Encourage them to press firmly as they roll to ensure the candle is well-formed.
- If the rolled beeswax doesn’t stick well, you can add a small amount of glue or use double-sided tape to secure the edge.
- Once the candle is rolled, ask the children to hold it upright and pinch the bottom tightly to ensure it stays in place.
- Decorate the candles! Provide the children with glitter, stickers, markers, or any other decorative materials they can use to personalize their candles. They can wrap the candles with colored ribbons or add their name or a message using markers.
- Now it’s time to heat the bottom of the candle to seal it. Use a hairdryer or heat gun set to low heat. Keep it a few inches away and gently heat the base of the candle until the wax starts to melt and stick together. This will create a flat base for the candle to stand on.
- Allow the candles to cool and harden. They are now ready to be lit and enjoyed!
Remember to always supervise the children and provide them assistance throughout the candle-making process to ensure their safety.
Nativity Crafts for children
This round-up of nativity crafts for children contains a variety of creative and engaging ideas. These crafts offer opportunities for children to learn and engage with the story of the nativity. With clear instructions and easily accessible materials, these crafts provide a valuable way to teach children about the Christmas story while fostering their creativity and imaginative skills.
Manger craft for kids by notimeforflashcards.com
This is more than a nativity craft for kids it’s also a lesson in shapes. My son did a similar cut and paste craft in preschool a few years ago and have always thought it would make a cute suncatcher. Well I think it does. I kept this bare bones with simple shapes that my daughter can identify and explore how when shapes work together they can make figures.
Manger Craft for Kids by learnplayimagine.com
At our playgroup Christmas party last week one of my fellow assistant organizers put together a Christmas craft for the children to do. *Months after writing this I realized the source of the inspiration for this craft was Frugal Fun for Boys.
Toilet Roll Nativity Set that Kids Can Play With by happyhooligans.ca
Learn how to make a homemade nativity set out of toilet rolls and fabric scraps. This kid-friendly nativity set is a great craft to make for home or the Sunday School Classroom. It will provide hours of imaginative play and learning in the days and weeks leading up to Christmas.
Paper Bag Manger Craft by icanteachmychild.com
I was in charge of teaching our children’s church for two to six-year-olds this last Sunday. I was scouring the internet for ideas and came across this adorable paper bag manger craft. Naturally, I had to put my own spin on it (especially since you had to register for the printable baby Jesus).
Montessori-Inspired Nativity Activities livingmontessorinow.com
Today, I want to share some Montessori-inspired Nativity activities. I’ve often focused on the Montessori-based religious education activities of Catechesis of the Good Shepherd and Godly Play. Today, I’ll share a post of Godly Play Advent activities along with other Montessori-inspired activities for hands-on ways to enrich children’s understanding of the Nativity.
Thumbprint/Fingerprint Nativity Christmas Card by craftoart.com
I got the idea to make a thumbprint nativity card when I was checking my blog stats. There was a search keyword “Thumbprint Nativity” that led to my blog. From last year I had been thinking of making thumbprint nativity cards for grandparents. Finally, we made it.
(20 crafty days of christmas) nativity candle holder by seevanessacraft.com
This nativity candle holder is very easy to make, and you only need a few supplies.
Hand print nativity scene Ornaments by craftoart.com
For this Christmas, I tried to decorate the Christmas tree in a meaningful way. I wanted CJ, my 3 yr old daughter to keep “Christ in Christmas”. We made these Handprint nativity scene ornaments. I was inspired by Tiny hands ornaments Jessica of Two shades of the pink blog had made. At first, I just thought of creating Baby Jesus alone. But CJ insisted on creating Mother Mary and St. Joseph Ornaments.
Cork popping: Make Your Own Nativity by domesticgoddesque.com
Once we moved, and had children, glass bowls and corks were put away to be replaced by plastic, plastic and more plastic. But last winter, round about this date, I came across a fabulous Champagne Cork Nativity on Snowfairy’s blog, and vowed to dig out the bag of corks and shamelessly copy her brilliant idea.
Nativity Sensory Bin for Toddlers and Preschoolers by growinghandsonkids.com
The Christmas season is nearly upon us. This year, I really wanted our focus to be on the true meaning of Christmas, Jesus. Now that Ellie is 2 years old, she can understand more of the story of baby Jesus and I wanted to give her a fun way to explore this story. So our Nativity sensory bin was born.
Fun Lunches to Teach Kids About Jesus by creativekidsnacks.com
Some may find it difficult to wrap their mind around the idea of portraying Bible stories with food. It may appear irreverent or give the impression that the stories of the scriptures are somehow being reduced to a plate of food. The reason I have prepared these little plates for my girls in the past is to celebrate the Bible. We love to talk about Bible stories and use lunch time as an opportunity to learn and re-read them. It is because I love my Lord Jesus that I include His story in the creative snack time. His story is the best of all, and these dishes are meant to celebrate it.
Nativity Block by sugarbeecrafts.com
I like that it’s a simple project, but still fun enough for boys to enjoy, and still cute enough that it can actually be displayed at their house.
Block nativity set by gingersnapcrafts.com
This project was super easy & best of all, didn’t cost me a thing! Wahoo! I just used scraps of wood from our shed,
and a few craft supplies that I already had on hand!
Snowman Nativity by pitterandglink.com
So I’m going to share my Snowman Nativity with you. I’ve told y’all before that my mom LOVES snowmen, so I thought she needed a snowman nativity.
How to Make a Nativity Silhouette – Art Project by thatartistwoman.org
Here is an amazing art project. I wish I could take credit for it but I can’t. A former Grade 1 teacher at the school used to do this project with her kids every December. They always left me in awe as they were so striking.
DIY advent calendar by digitprop.com
It is a dear tradition in our family to get the kids an advent calendar. Now, for this year I wanted to make something myself rather than buy a run-off-the-mill calendar. And of course, being an advent calendar, it should be related to the story of Christmas.
Stained Glass Nativity by housingaforest.com
This nativity project is perfect to make with your preschooler this Christmas and will look great hanging in your window, or on your Christmas tree.
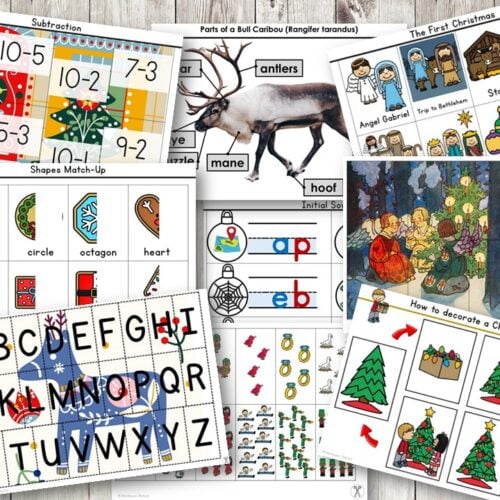
Christmas printable you might find helpful in your classroom
-
 Christmas Pack Preschool Kindergarten Busy Book$8.80
 -
Christmas in Australia 3 Part Cards$4.00
-
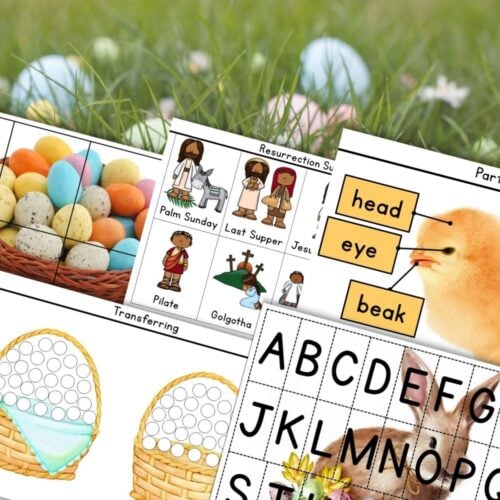
Easter Pack: Busy Book for Preschool Kindergarten$7.40
-
No Prep Christmas Busy Book$5.00
-
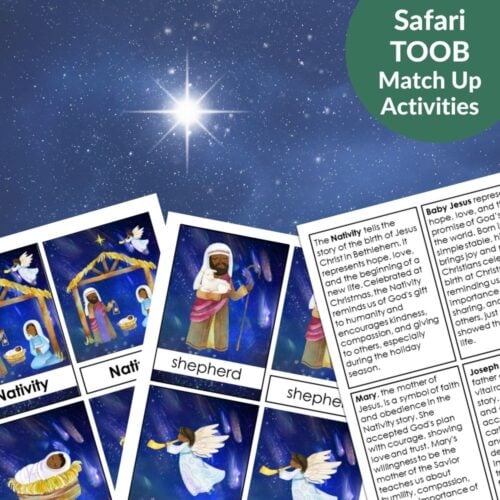
Silent Night Nativity: Safari TOOB Compatible 3 Part Cards Facts$3.20
-
DIY Classroom Christmas Gift Cards Photo Booth Props$3.00
-
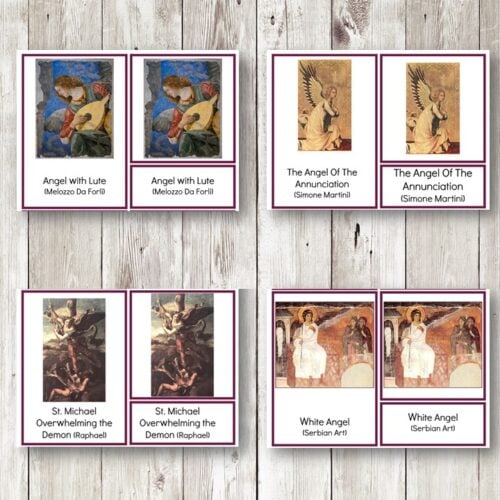
Angels in Art 3 Part Cards$2.00
-
Christmas Patterns: Knobless Cylinder Extensions$3.00
-
 Montessori Math Beads: Christmas Addition Cards$2.00


About Anastasia | Anastasia is a certified early childhood teacher with over twenty years of experience in Montessori classrooms and homeschooling. As the founder of Montessori Nature, she creates evidence-based, nature-inspired educational printables. Discover more resources on her blog and Teachers Pay Teachers store.


