Spring is here, which means it’s the perfect time to learn about the life cycle of a tulip! The Montessori approach encourages hands-on learning experiences, so why not explore the stages of a tulip’s growth with your students?
Tulips are beautiful flowers that bloom in the spring, making them the perfect subject for a lesson on plant growth and reproduction. We will delve into the fascinating world of tulips, exploring their life cycle and the different parts of the plant. Additionally, we will provide teachers with a free printable resource that can be used to supplement their lesson plans and engage students in a fun and interactive way.

about tulips
Origin and Meaning:
Tulips originated in ancient Persia and Turkey, where they were cultivated for their beauty and elegance. They were later introduced to Europe in the 16th century, where they became a symbol of wealth and prosperity. Today, tulips are considered a symbol of love, elegance, and grace, making them a popular choice for gifts and decorations.
Life Cycle:
Tulips are one of the most popular flowers in the world, known for their vibrant colors and beautiful shape. But did you know that the life cycle of a tulip is different from many other flowers?
Bulb planting: Tulips start their life cycle as bulbs, which are like underground storage units for nutrients. In the fall, gardeners plant tulip bulbs in the ground or in pots. The bulbs need a period of cold weather to trigger their growth process.
Dormancy: During the winter months, tulip bulbs go into a period of dormancy, where they rest and wait for the weather to warm up. This is why tulips are often associated with springtime, as they start to sprout when the weather gets warmer.
Sprouting: As the weather warms up in the spring, the tulip bulbs start to sprout. Green shoots emerge from the soil, reaching up towards the sun. This is the first sign that the tulips are getting ready to bloom.
Flowering: Once the shoots have grown tall enough, the tulip buds start to form. The buds gradually open up, revealing the beautiful petals inside. Tulips come in a variety of colors, from bright reds and yellows to soft pinks and purples.
Pollination: Like other flowers, tulips rely on pollination to reproduce. Bees and other insects are attracted to the bright colors and sweet scent of the tulip flowers. As they visit each flower, they transfer pollen from one flower to another, helping to create seeds for new tulip plants.
Seed production: After the flowers have been pollinated, they start to wither and die. The petals fall off, leaving a seed pod behind. Inside the seed pod are tiny seeds that will eventually fall to the ground and grow into new tulip plants.
Once a tulip flower has been pollinated and the petals fall off, a seed pod is left behind. Inside this seed pod are tiny seeds that, when they fall to the ground, have the potential to grow into new tulip plants.
After the seeds fall to the ground, they need the right conditions to germinate and grow. The seeds might lay dormant in the soil for a while, waiting for the right temperature and moisture levels to trigger their growth.
When the conditions are just right, the seeds start to sprout and tiny shoots emerge from the soil. These shoots grow into small plants that will eventually develop into bulbs.
As the plants grow, they start to store nutrients in the form of bulb scales. These scales are the layers inside the bulb that help store energy for the plant to survive during dormant periods, such as winter.
Over time, the bulb grows bigger and stronger, developing roots that anchor it in the soil and leaves that photosynthesize and provide energy for the plant. Eventually, this bulb will produce its own flowers and start the cycle of life all over again.
So, in a nutshell, a tulip seed turns into a bulb by first growing into a small plant and then storing energy in the form of bulb scales. With proper care and the right growing conditions, this bulb will produce beautiful tulip flowers for us to enjoy!
Pollination:
Tulips are pollinated by insects, primarily bees and butterflies, attracted to their nectar and bright colors. As the insects gather nectar, they inadvertently transfer pollen from one flower to another, facilitating the pollination process and ensuring the continued growth and reproduction of the tulip species.
Characteristics:
Tulips are known for their distinctive cup-shaped flowers and a wide range of vibrant colors, including red, yellow, pink, purple, and white. They come in various shapes and sizes, from single-flowered to double-flowered varieties, adding to their visual appeal. Tulips also have long, slender leaves that complement the flowers beautifully.
Interesting Facts:
- Did you know that tulips are part of the lily family and are closely related to lilies, onions, and garlic?
- Tulips were once more valuable than gold in the Netherlands during the 17th century, leading to a period known as “Tulip Mania.”
- There are over 3,000 different varieties of cultivated tulips, each with its unique color, shape, and characteristics.
- Tulips can continue to grow and bloom for several years if properly cared for and maintained.
Tulips are more than just flowers; they are symbols of beauty, love, and resilience that brighten our lives and bring joy to our hearts.
Teaching children about the life cycle of a tulip is a wonderful way to engage them in hands-on learning and foster a love and appreciation for the natural world. By exploring the different stages of a tulip’s growth, students can gain a better understanding of how plants reproduce and thrive in their environment. Additionally, observing the beauty of tulips in bloom can spark curiosity and wonder in young minds, inspiring a sense of awe and appreciation for the wonders of nature.
To assist teachers in bringing the magic of tulips into their classrooms, we have created a free printable resource that includes diagrams and labels of the various parts of a tulip plant. This printable can be used as a visual aid during lessons on the life cycle of a tulip, allowing students to see and touch the different parts of the plant up close. By engaging in this hands-on activity, students can deepen their understanding of the complex processes involved in plant growth and reproduction.
There are several ways to incorporate this lesson into your Montessori curriculum. You can start by introducing students to the concept of plant life cycles and discussing the different stages of a tulip’s growth. Show them the printable resource and have them identify and label the parts of the tulip plant. Encourage students to observe tulips in your school garden or in nature, allowing them to witness the beauty of the plant’s life cycle firsthand.
You can also extend the lesson by engaging students in additional activities, such as planting tulip bulbs in the classroom or conducting experiments to explore plant growth and development. Encourage students to keep a journal to document the changes they observe in their tulip plants over time, fostering a sense of curiosity and inquiry.
The life cycle of a tulip is a wonderful subject for Montessori educators to explore with their students. By teaching children about the different stages of a tulip’s growth and providing them with hands-on learning experiences, teachers can instill a sense of wonder and appreciation for the natural world. Our free printable resource is designed to complement your lesson plans and engage students in a fun and interactive way.
planting tulips with children
Planting tulips with children can be a wonderful hands-on learning experience that teaches children about nature, gardening, and the cycle of plant growth.
- Choose a variety of tulip bulbs that you would like to plant. You can involve the children in this decision-making process by showing them pictures of different types of tulips and asking them to vote on their favorite.
- Select a suitable location for planting the tulips. Make sure the area receives adequate sunlight and has well-draining soil.
- Prepare the soil by loosening it with a shovel or garden fork. You can also add some compost or organic matter to improve the soil quality.
- Show the children how to plant the tulip bulbs. Have them dig small holes in the soil, about 4-6 inches deep, and place the bulbs inside with the pointed end facing upwards.
- Cover the bulbs with soil and gently pat it down to secure them in place.
- Water the newly planted tulips thoroughly and make sure to keep the soil moist but not waterlogged.
- Encourage the children to observe the growth of the tulips over time. They can measure the height of the plants, draw pictures of them, or keep a journal to track their progress.
- Once the tulips have bloomed, the children can cut some of them to create beautiful flower arrangements for the classroom.
(Note: Remember to always supervise children during hands-on activities and ensure they handle plant materials with care.)
The time it takes for a tulip to grow from a bulb can vary depending on the variety of tulip, the planting conditions, and the climate. In general, it typically takes about 1 to 3 weeks for tulip bulbs to sprout and emerge from the soil after planting. Once the tulips start to emerge, it usually takes another 4 to 6 weeks for them to bloom and display their colorful flowers.
From planting the tulip bulb to seeing the flowers in full bloom, it can take approximately 6 to 10 weeks. This timeline may vary slightly, so it’s important to be patient and continue to care for the tulips until they reach their full blooming stage.
Planting tulips with children provides hands-on learning for children, helping them engage with nature and understand the growth process. This activity fosters a connection to nature, teaching responsibility and empathy. Through waiting for tulip bulbs to bloom, children learn about delayed gratification, developing self-control and perseverance. Witnessing the growth and bloom of tulips instills a sense of accomplishment, boosting self-esteem and motivating children to set goals. This experience nurtures cognitive, emotional, and social development, teaching valuable life lessons and fostering a love for nature.

This resource contains a tulip life cycle poster, worksheet, 3-part cards, and parts of tulip printables.
HERE IS WHAT’S INCLUDED:
- Tulip life cycle poster
- Tulip life cycle 3 part cards
- Tulip life cycle coloring, cutting, and pasting worksheet
- Tulip life cycle tracing strips
- Parts of a tulip poster
- Parts of a tulip poster minus labels
- Parts of a tulip labels
- Parts of a tulip tracing
Age: Preschool ages 3 – 6 years
Subjects and uses in the classroom: Spring, Summer, Autumn, Gardening, Nature Table, Science Centers, Fine motor, Prewriting
Parts of a tulip – Gather books on the flower life cycle for children to explore. Print posters and label cards on cardstock and laminate. Cut individual label cards.
Attach clear velcro to the poster without labels and label cards. Velco will come especially handy if you decide to take your work outdoors. Having an additional challenge for little fingers is always welcomed when working with young children!
Present the poster – name all parts and invite the students to share their thoughts on the various functions of each part. Then read each label and invite the student to match it to the corresponding part of the tulip.
Life cycle poster – print on cardstock and laminate. Present all stages of the tulip life cycle. Invite the children to retell them or tell their own story that features all the stages.
Tulip life cycle 3- part cards – Print on cardstock and laminate if you wish to preserve colors and card quality for future use. Place picture cards in a column and invite the children to match the picture to the picture and the word to the word.
Tulip life cycle line art – supply scissors, glue, and coloring pencils. Invite the student to color and cut cards and glue them into the correct sequence.
Tulip tracing and coloring worksheets – print on cardstock and laminate. Supply an erasable pen. Invite the child to trace the words and color corresponding images. Alternatively, print pages on regular printing paper and slide them into plastic pockets.

[click here to sign up and download this printable]
To access free printables, click the download link and enter your email. If the sign-up form doesn’t appear, try disabling ad blockers or privacy extensions, using an incognito window, or switching to a different device. Then check your email for the ZIP folder download—unzip before printing. Alternatively, join the $10 membership and download all freebies from the Membership hub, with no form required.
Learning resources you might find helpful in your classroom
-
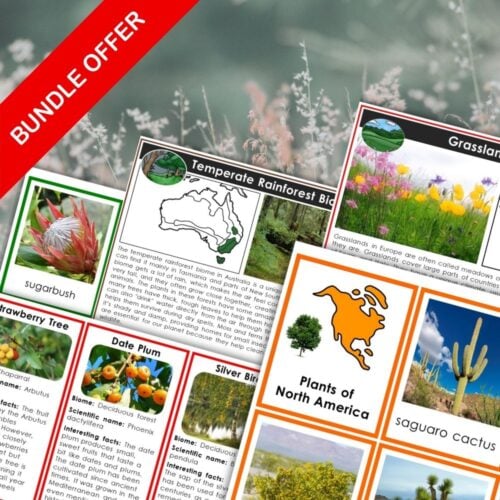
 Plants and Biomes of the Continents BundlePrice range: $7.00 through $8.00
 -
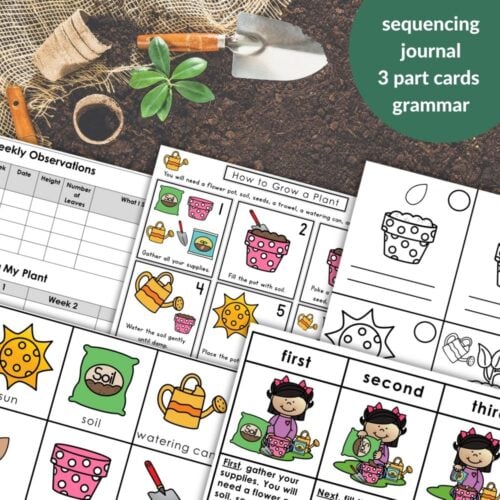
How to Grow a Plant Spring Summer Gardening$3.80
-
The Ultimate Cosmic Education Bundle: A Complete Nature Curriculum in CardsPrice range: $2.00 through $8.50
-
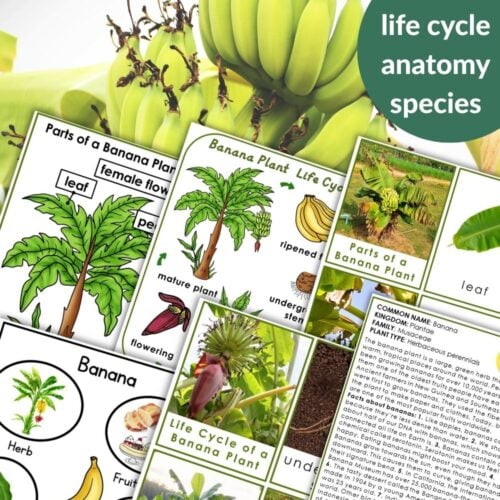
Parts of a Banana Plant Life Cycle Activities$7.00
-
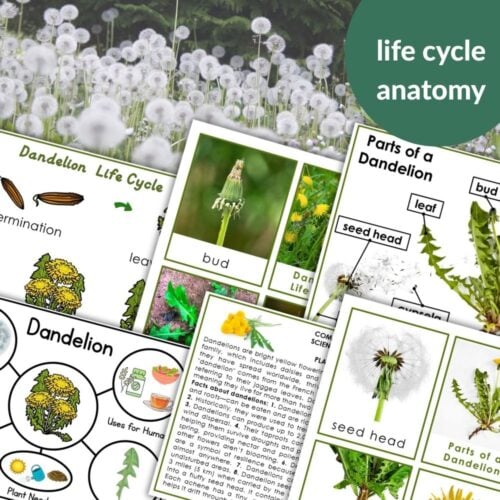
Parts of a Dandelion Life Cycle Activities$7.70
-
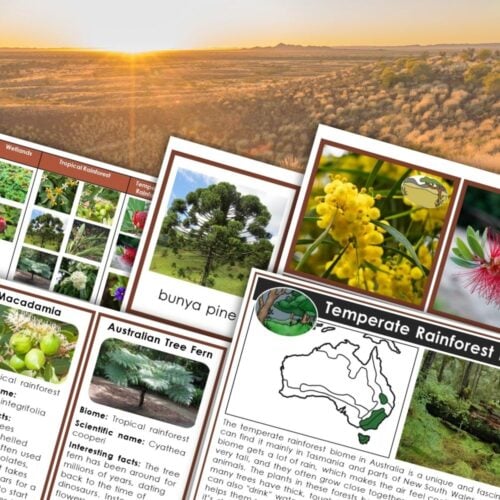
Plants and Biomes of Australia$6.90
-
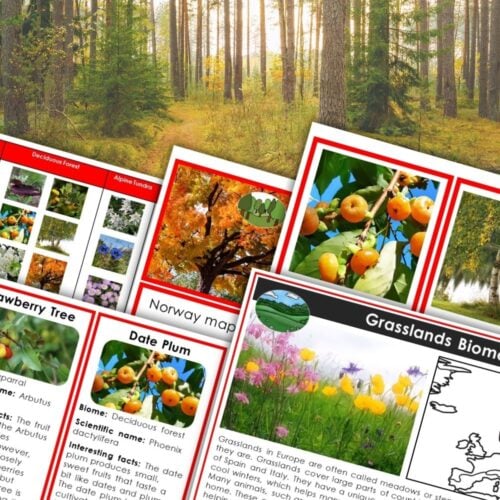
Plants and Biomes of Europe$6.90
-
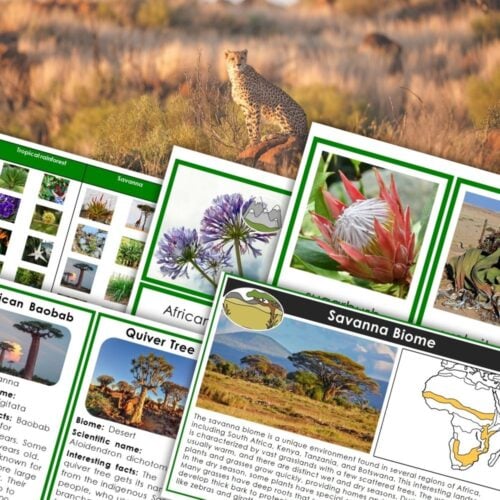
Plants and Biomes of Africa$7.00
-
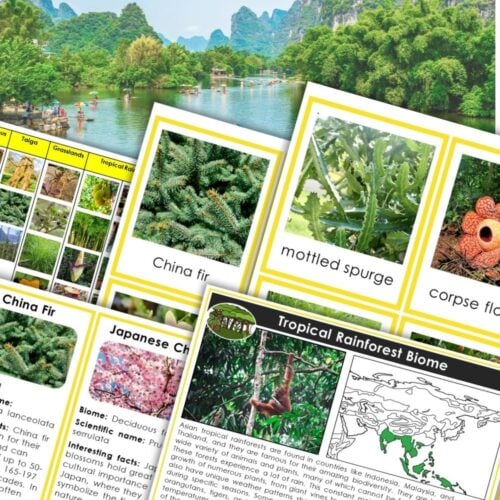
Plants and Biomes of Asia$7.00
About Anastasia | Anastasia is a certified early childhood teacher with over twenty years of experience in Montessori classrooms and homeschooling. As the founder of Montessori Nature, she creates evidence-based, nature-inspired educational printables. Discover more resources on her blog and Teachers Pay Teachers store.